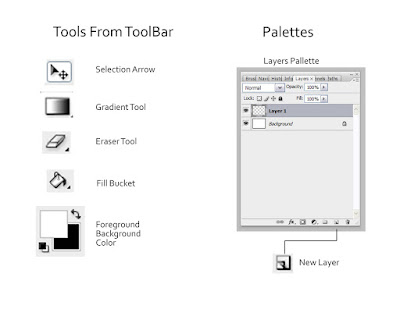
Here are the tools and palettes we will be using in this project.
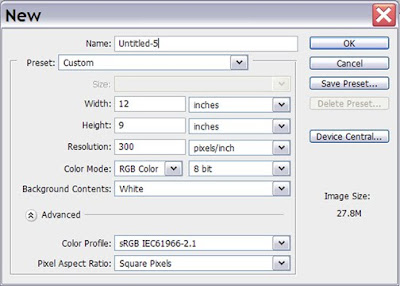
Create a New Document. Go to File > New. Make sure that the setting are the same as below.
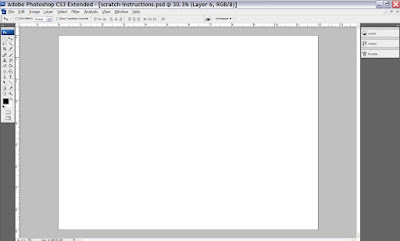
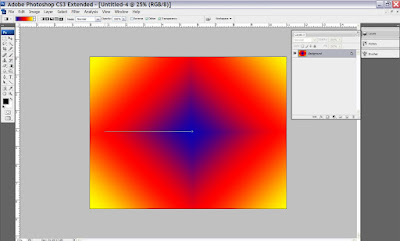
Add a Gradient to the Background Layer with the Gradient tool.
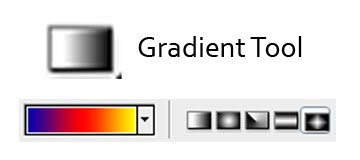
Once you have selected the Gradient Tool and picked the gradient colors, click and drag from the center of the background. This will apply the gradient to the background. Reposition, click and drag to remake your gradient.
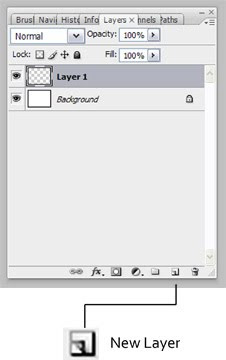
Create a New Layer by clicking on the New Layer button in the Layers Palette.
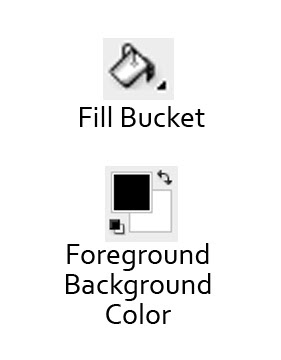
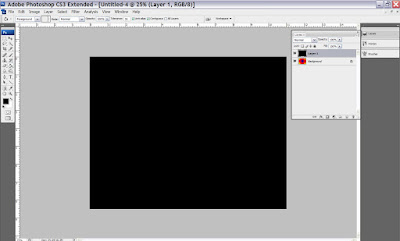
Fill the top layer with black using the Fill Bucket. Make sure the Foreground color is black!
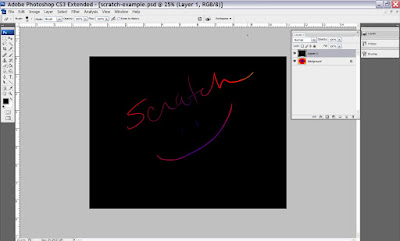
Select the Eraser Tool. The eraser tool works just like the paint brush. You can use different brush style to scratch away the black.

This is a great tutorial. Thank you for providing it from your lessons. I would love to try this myself. I don't have photoshop, but I do have a program like it. So I'll be doing some experimenting soon.
ReplyDeleteI'm glad you liked it. Gimp is a lot like Photoshop.
ReplyDelete