
by Andy Warhol
“Butterfly
In today’s project we are going to apply adjustments to an image similarly to Warhol’s image and add brush strokes around the figure or object.

by Andy Warhol
“Butterfly
In today’s project we are going to apply adjustments to an image similarly to Warhol’s image and add brush strokes around the figure or object.


 Make sure the lion image is under the black layer.


 1. Take two images. They both need to have a still background and two different positions. The reason for this is to have the same viewpoint in both photos.
 2. Open both images in Photoshop. Make sure you can see both windows.
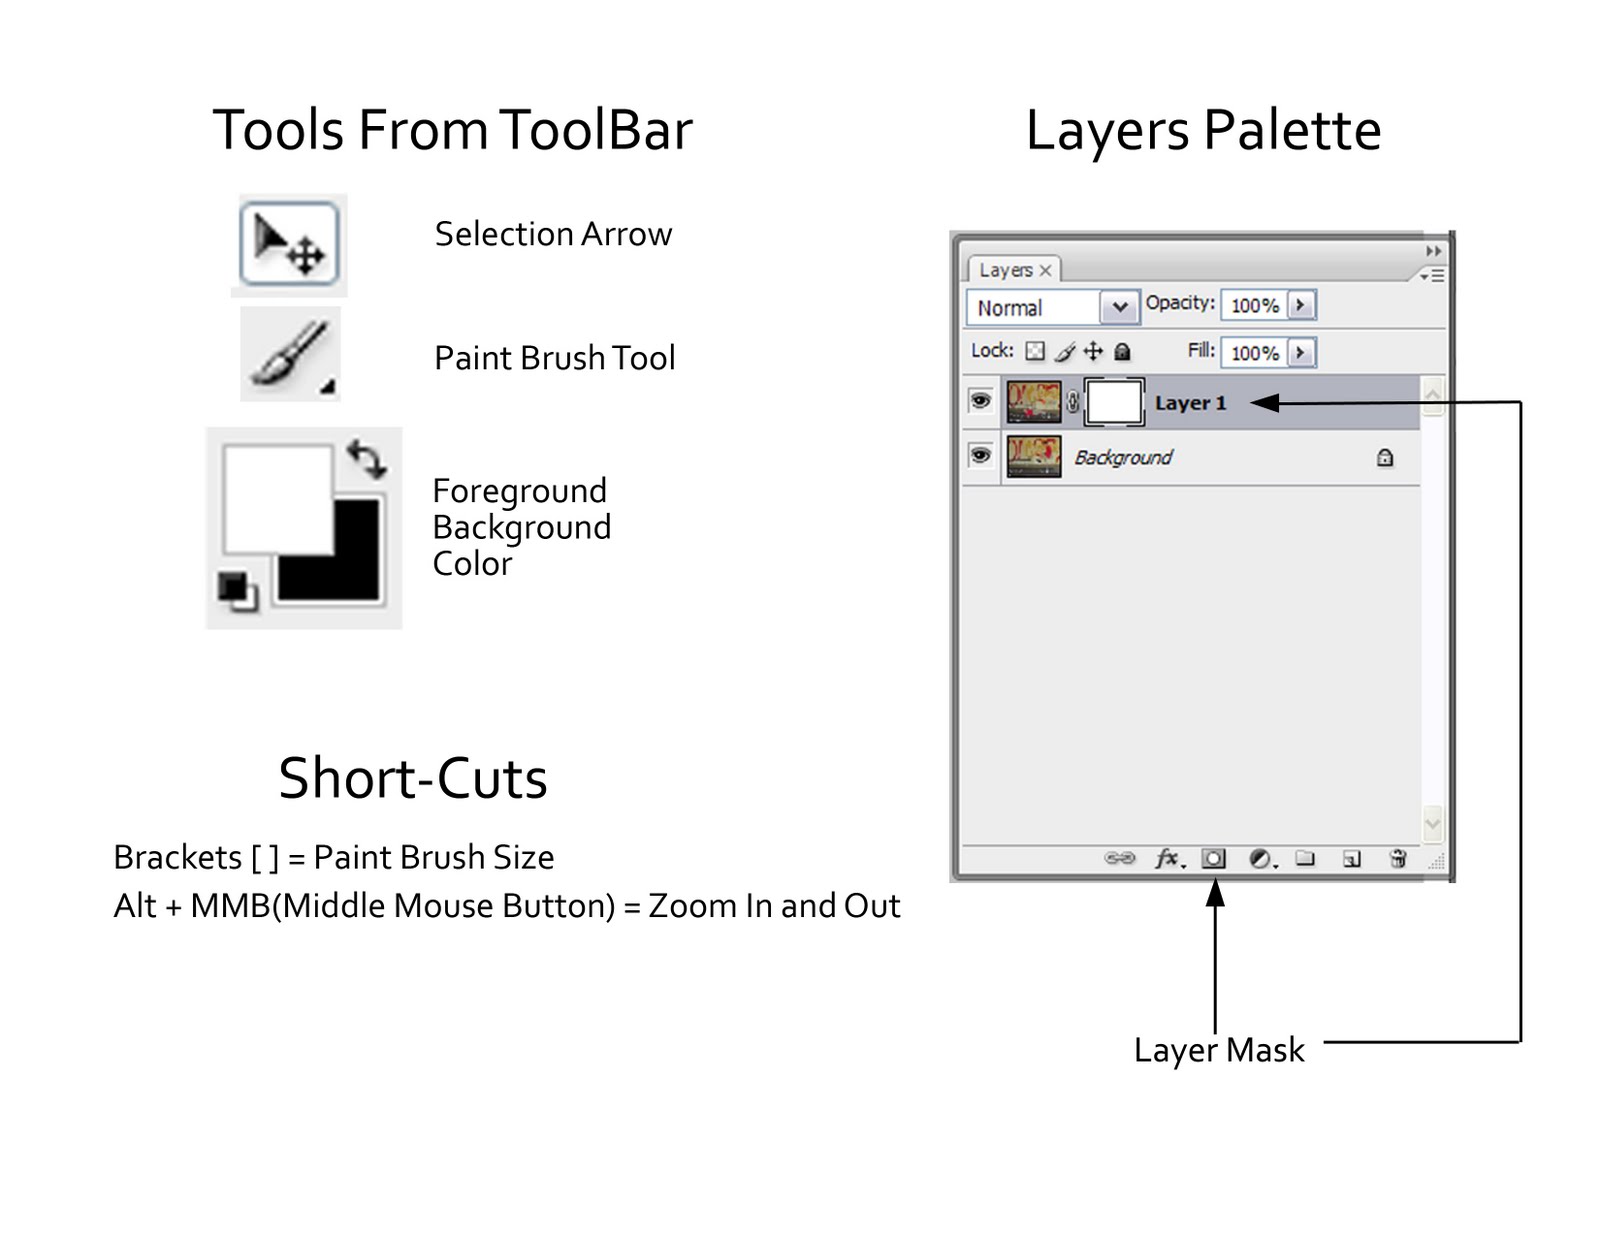
 3. Using the Selection Tool, click and drag one image into the other image.
 4. Masking Layer. You can see below the Masking Layer button this will add a Masking Layer. You can see the Mask added to Layer 1 in the picture below. When you start to paint away the masking layer, make sure the mask is selected not the image.


 I have finished masking away the background. If you make a mistake and mask something out you wanted to keep in the picture, just swap the color to white and you can paint the image back in. In the image below I still have the visibility turned off in the bottom layer.
 9. Selection arrow. Make sure the top layer is selected. Click and drag with the Selection tool to move the figure into the position I want.


